How to continuously deploy Node.js Application to Azure App Service with Visual Studio Team Services
by Ajay Tiwari 30th May, 2017.
Node.js developers often face challenges to deploy their application continuously on Azure App Service. Here are few simple steps that can help you in deploying Node.js applications to Azure App Service continuously.
Push code to Repository:
- Install Node.js tools in your Visual Studio Setup and create a sample Node.js application.
- Now, push the code to your VSTS account using GIT or Team Foundation Version Control.
Build Steps
- Open your project in the team services account.
- Select Build & Release menu and under the Builds tab, select +New to create a new build definition.
- Select Empty as the build definition.
- Add the below build tasks.
npm install
- Working folder : Set it to the root of the repository
- Npm command : install
Gulp
- Gulp File Path : Gulpfile.js
- Arguments: –packageName=$(Build.BuildId).zip –packagePath=$(Build.ArtifactStagingDirectory)
Publish Build Artifacts:
- Copy Root: $(Build.ArtifactStagingDirectory)
- Contents: $(Build.BuildId).zip
- Artifact name: drop
- Artifact Type: Server
- Save and queue the build. Ensure the trigger is selected as "Continuous Integration"
Release Steps
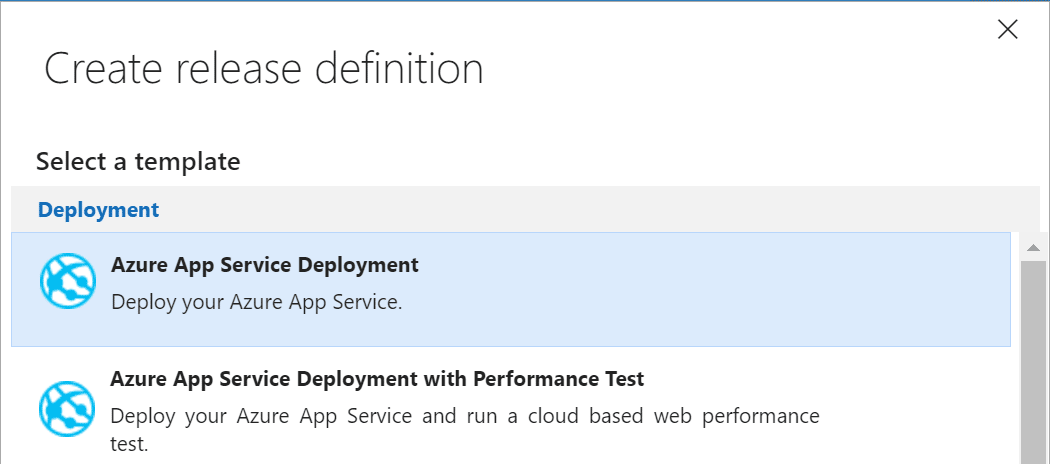
- Go to the Releases tab of the Build & Release menu and select Create a Release Definition.
- Select a template, Azure App Service Deployment and click OK.

- Select the build definition you created earlier as the source of artifact to be deployed.
- Configure the Azure App Service Deployment task:
- Azure Subscription: Select a connection from the list under Available Azure Service Connections
- App Service Name: Provide a App Service name
- Deploy to Slot: Select the default
- Package or Folder: $(System.DefaultWorkingDirectory)\**\*.zip (the default)
- Provide a name for the new release definition and save it.
- Create a new release and verify that the application has been deployed correctly.